 |
Ghost of Zorro - 1949 |
||||
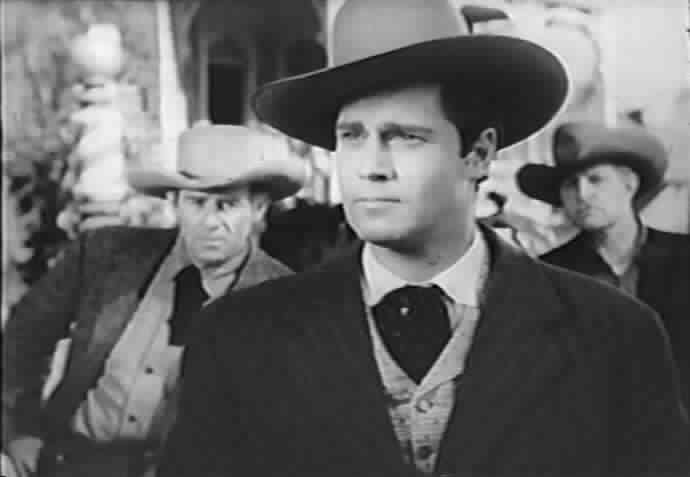 |
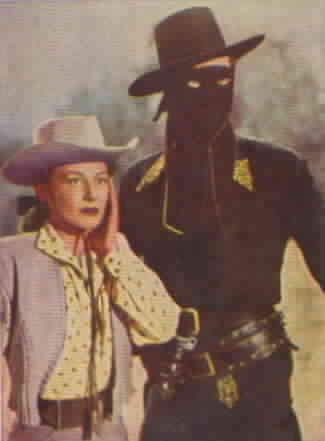
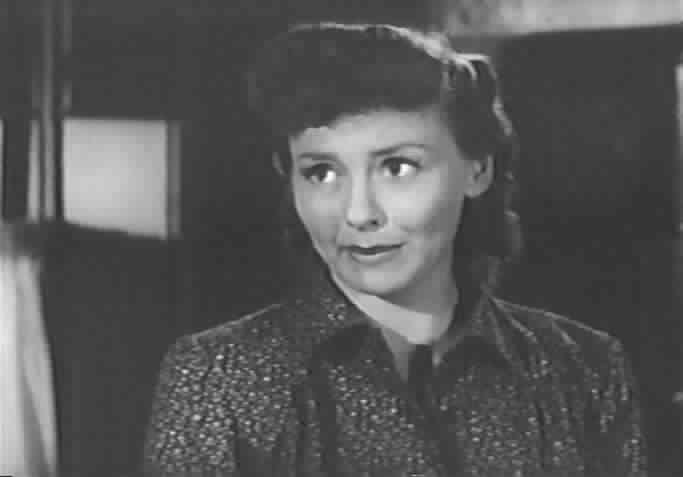
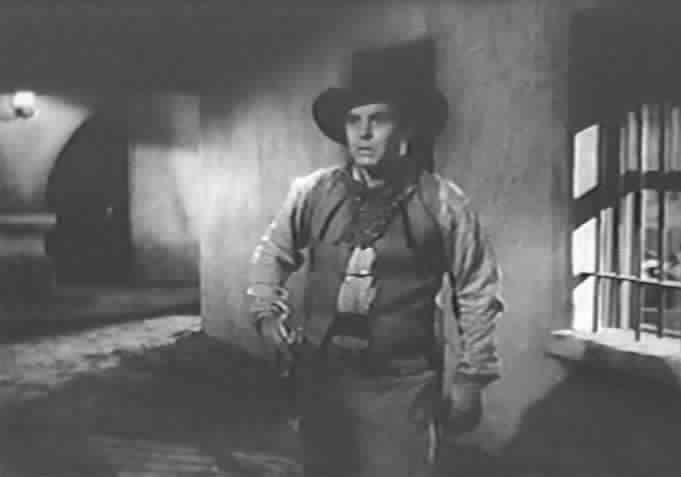
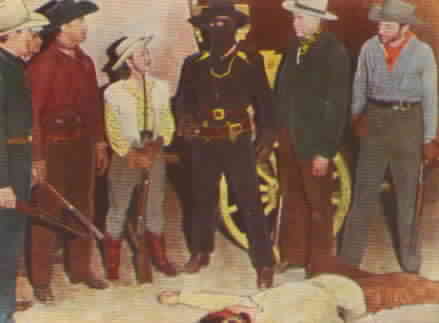
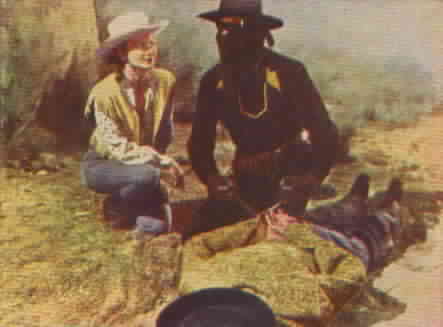
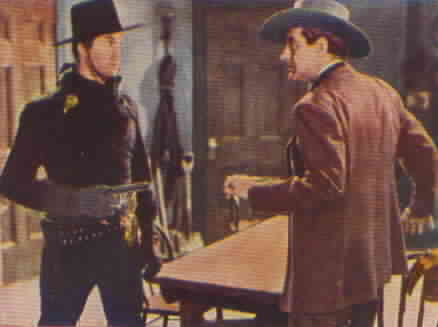
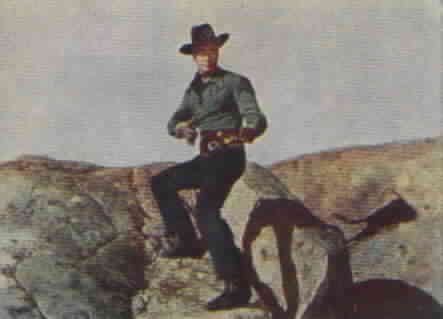
Clayton Moore is Ken Mason and Zorro |
Pamela Blake is Rita White |
 |
||
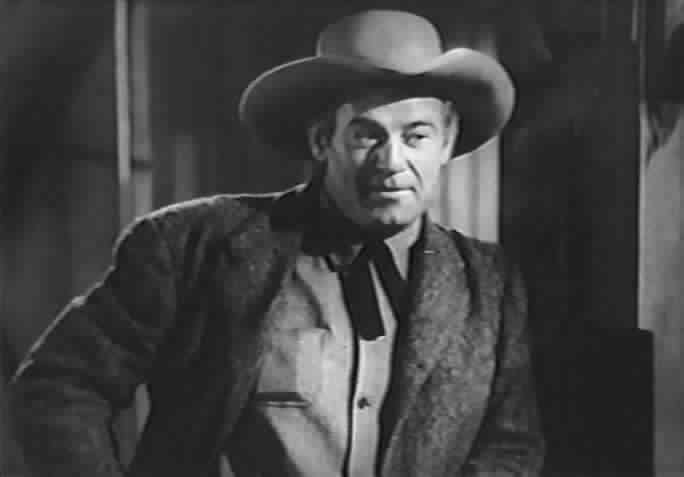 |
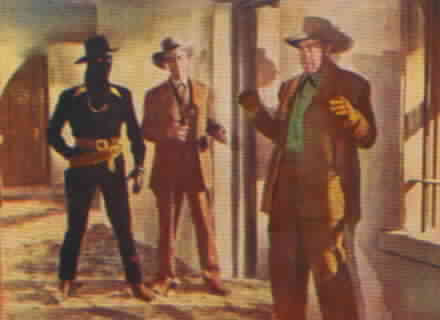
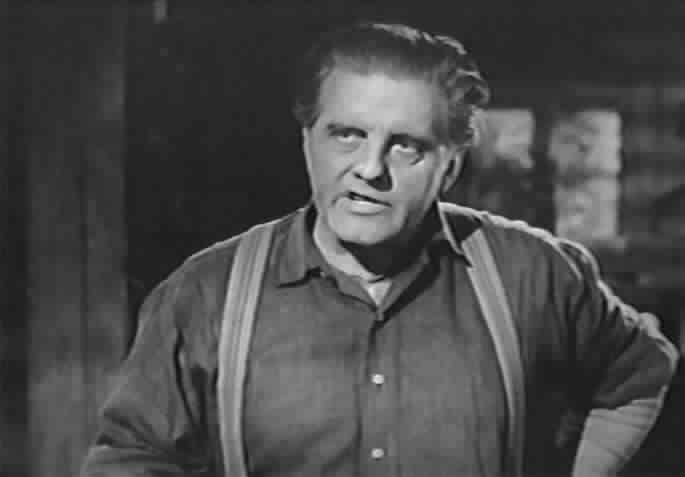
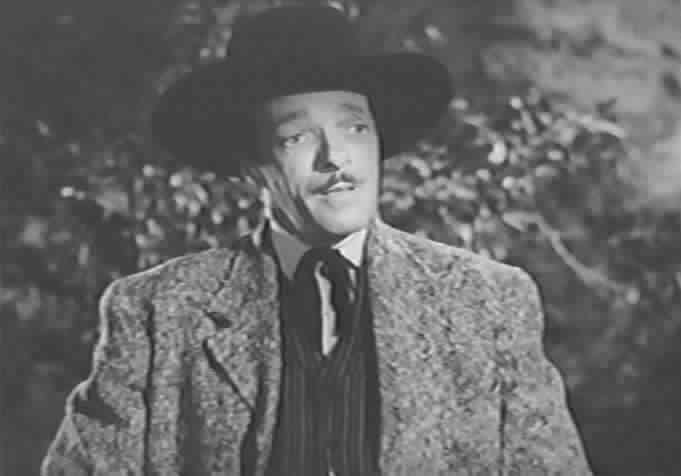
Roy Barcroft is Hank Kilgore |
Gene Roth is George Crane |
 |
||
 |
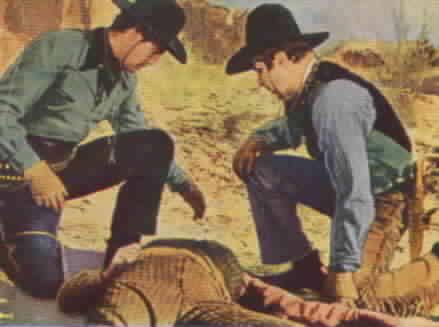
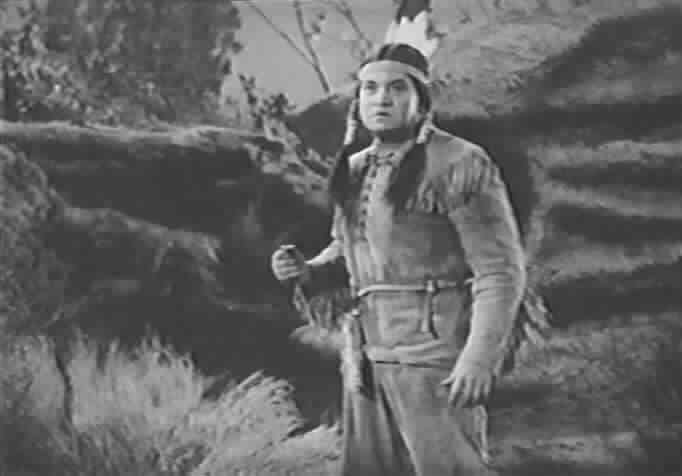
George J. Lewis is Moccasin |
Alex Montoya is Yellow Hawk |
 |
||
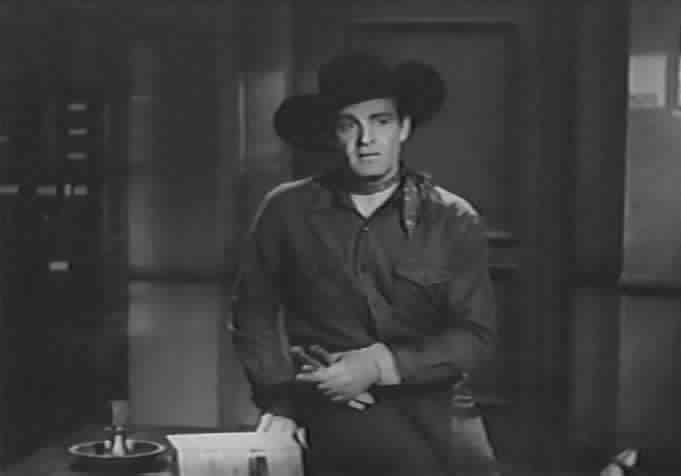 |
Dale Van Sickel is Mike Hodge |
I. Stanford Jolley is Jim Green |
 |
||
|
|
|||||
| Chapter 1: Bandit Territory | |||||
| With the opening of the territory of New Mexico, a flood of pioneers swept westward to claim the fertile lands. Then, with the discovery of gold, another breed descended among mining camp and frontier town alike to pray upon their more industrious and honest neighbors. With the end of the war between the states, this lawless element burst into action. In an effort to claim the new territory for their own, they fought against the encroachment of law and communications. | 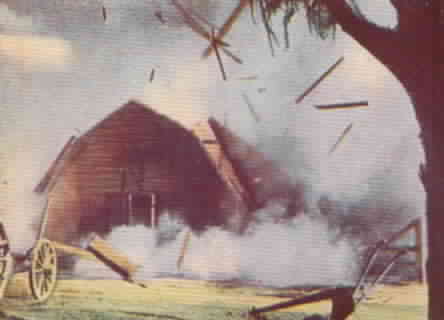 |
||||
 |
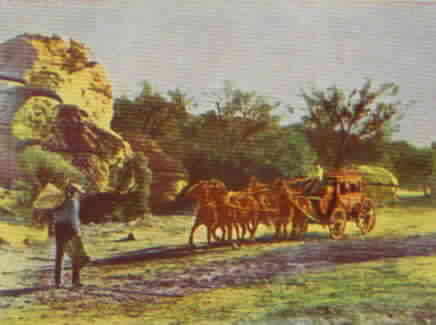
Ken Mason, the new engineer of the telegraph line, alights from the stagecoach, dressed in a suit. Rita White and her father, Jonathan White, are surprised at Ken's appearance and don't think he can handle the job. Rita tells him that the line must be completed by November 15 or they will lose their franchise. Ken assures them that he can do the job. Rita thinks they'll need a new engineer before the job is half done. | ||||
| In Twin Bluffs, George Crane is the only law, and as long as men like Hank Kilgore pay him his price, they can do as they please. Hank Kilgore tells George Crane that Pioneer Telegraph is moving out their way with a work crew and a new engineer named Ken Mason. Crane says that the telegraph will get the United States marshal into the town in a hurry. Crane tells Kilgore what to do to discourage White and his daughter from coming.
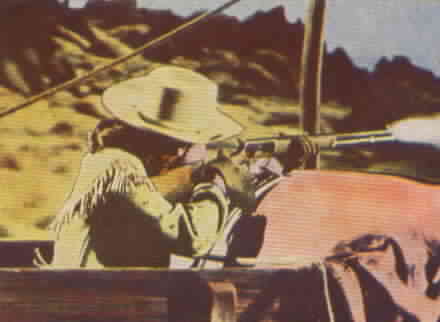
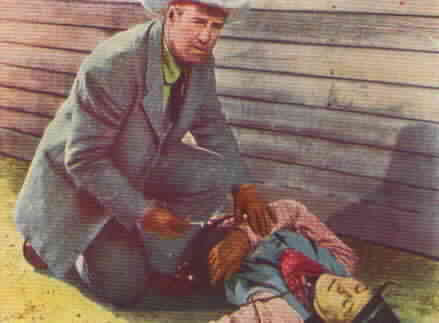
Ken decides to ride out to meet Rita and her father and sees that the Whites are being pursued by Indians. Ken rides to help them. Rita and her father are pleasantly surprised to see Ken approaching. Mr. White's bugle falls from his pocket, and Ken manages to lean over and grab it as he gallops closer. Ken rides off into the trees, and Rita assumes that he must be scared. Ken blows the bugle, and both the Whites and the Indians think the Cavalry has arrived. The Indians retreat but fire a few last shots, hitting Mr. White. Ken rides up, and Rita learns that he was the one who blew the horn. Mr. White dies. Ken asks Rita who knew when she was arriving. Rita tells him that Jim Matthews was the only person. Ken and Rita travel to Twin Bluffs to speak to Matthews and find that he has disappeared. They speak to George Crane who says he doesn't know what happened to Matthews. Ken and Rita ask why the Indians would attack, and Crane suggests that the Indians might think they are planning to steal their land. When Rita says they want to buy the land from the owners, Crane tells them that the land owners have all been run out or killed. He tells them that they can't send the telegraph through without land rights. Rita says that Ken has an alternate plan where they will use public land. After Rita and Ken leave, Crane tells Kilgore to send Yellow Hawk and his tribe to the telegraph's camp. |
|||||
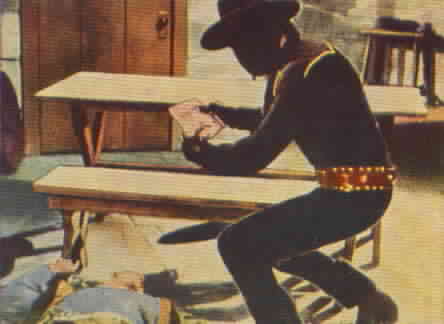
Ken enters a cave and finds his old friend, Mocassin. Mocassin tells him that the horse in the cave is a descendant of his grandfather's horse, Firebrand. Ken's grandfather was Don Diego Vega, who rode as Zorro. Mocassin's grandfather helped Don Diego. Mocassin brings out Don Diego's old Zorro disguise. Ken makes a decision.
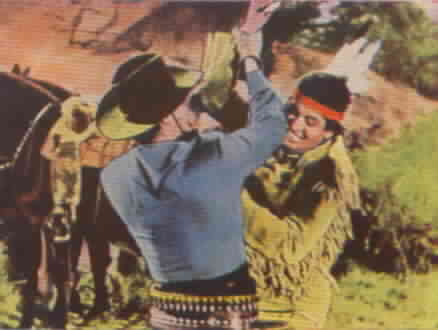
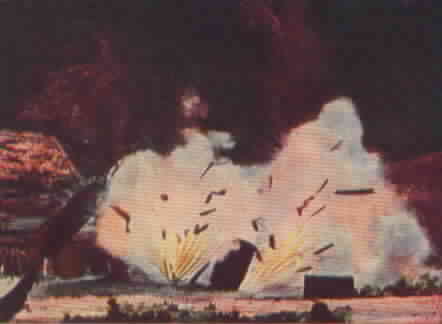
"I'll ride as my grandfather rode. I'll become the living ghost of Zorro and drive these renegades from the land. We'll work together, Mocassin, just as our grandfathers did."Ken leaves the cave, sees the Indians on the warpath, and rushes back in saying that Zorro is needed. The Indians attack the camp, and Zorro rides to the rescue. As Zorro fights one of the Indians inside a wagon, the gunpowder is accidentally ignited, and the wagon blows up. |

|
||||
|
|
|||||
| Chapter 2: Forged Orders | |||||
|
Zorro jumps out of the wagon right before it explodes. The explosion scares all of the Indians away. Rita thanks Zorro for his help and asks who he is. After Zorro replies, one of the men comments that he has heard of Zorro but that Zorro lived before his time. Zorro tells everyone that their enemies will soon know that Zorro will never die.
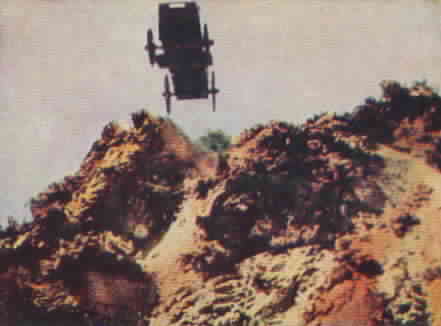
Later, George Crane tells Hank Kilgore to find Zorro. Crane also tells Kilgore that the telegraph has to take a map of their new route to the land commissioner to register it. Crane plans to have the Indians intervene and stop the telegraph. Crane wants Rita to ride without an escort so he has Kilgore forge a note to Rita White. Rita receives a note from the commissioner which tells her that she must leave immediately to register the route. Meanwhile, Yellow Hawk abducts Ken. Ken is able to overpower his captors and manages to escape. Ken goes to see Hodge and learns that Rita has already left. Ken rides as Zorro to help Rita. Rita is attacked by the Indians, and one of them knocks her unconscious. Zorro jumps into her wagon to try to save her, but he is knocked out. The horses break away from the wagon, and the wagon goes over a cliff. |
||||
|
|
|||||
| Chapter 3: Robber's Agent | |||||
| Both Zorro and Rita regain consciousness and jump from the wagon right before it plummets over the edge of the cliff. Zorro gives the survey papers back to Rita and tells her to put them in a safe place. Rita says that she must get the papers to the land commissioner before they can begin work. Zorro suggests that it would be safer for her to have the land commissioner send someone for the papers. | 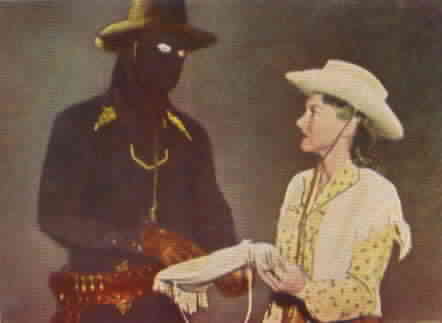 |
||||
 |
George Crane tells Kilgore to confiscate the papers so that the telegraph cannot begin work. Hank Kilgore invents a story about having to shoot his horse so that he can hitch a ride on the stagecoach which is bringing Mulvaney, the man coming for the papers. | 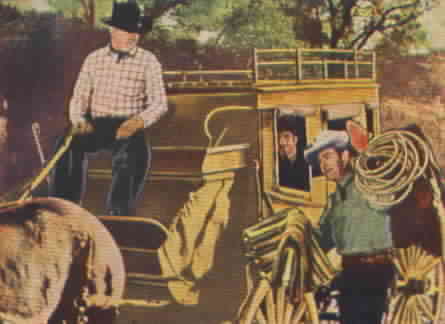 |
|||
 |
Kilgore hits Mulvaney over the head, takes his jacket and coat, and pushes the man off the coach. Kilgore puts on Mulvaney's jacket and coat and prepares to impersonate him. Ken and Moccasin ride along and find Mulvaney lying unconscious in the road. Ken takes him back to camp and finds out what happened. From Mulvaney's description, Ken suspects that his attacker is Kilgore and that Kilgore plans to steal the survey papers. Ken rides as Zorro. | ||||
| Kilgore tries to get Rita to hand over the papers. When she refuses, he holds her at gunpoint and decides to blow open the vault to get the papers. Kilgore ties Rita up and sets up explosives to blow open the door. Kilgore lights the fuse. Zorro arrives and fights Kilgore. Kilgore knocks Zorro down in front of the vault's door and escapes. The door explodes. | 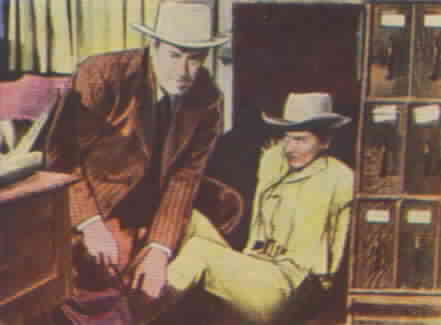 |
||||
|
|
|||||
| Chapter 4: Victims of Vengeance | |||||
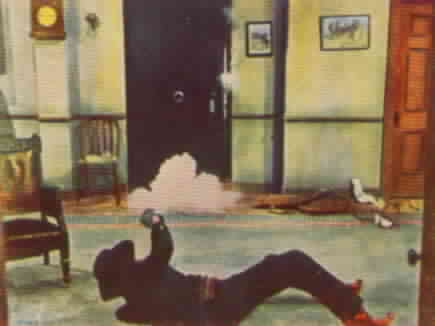
| Kilgore escapes after he knocks Zorro down. Zorro rolls away from the door just in time to avoid being killed. After the explosion, Zorro frees Rita from her bonds.
The next morning, Ken brings Mulvaney to Rita's office. Ken explains about the attack on Mulvaney. Mulvaney signs the survey papers so the telegraph is free to begin work. The telegraph begins work with a will. Rita is concerned about making it over the mountain gap. Ken intends to blast through some boulders to save time. Ken will pick up the explosives at the freight office and tells Hodge to set up camp near the base of the entrance to the gap. |
|
||||
| Hodge reports to Kilgore and Crane about the telegraph's progress. Crane tells Kilgore to blast the cliff so that a landslide will destroy the camp and to use the telegraph's explosives. Kilgore takes one box of explosives from the freight office and tells Hodge to take the rest back to the cave. Ken walks in on them and realizes that something is wrong. The men fight; Ken overpowers Hodge and the other escapes. The clerk in the freight office tells Ken that the men aim to blow up the cliff. Ken rides as Zorro. | |||||
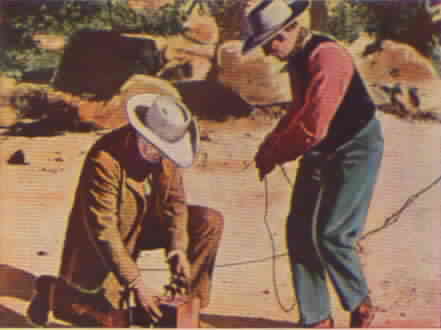 |
Kilgore arrives at the cliff with the explosives. Kilgore and his accomplice wire the explosives. Zorro arrives and attacks the men. During the fight, Zorro shoots Kilgore's accomplice, who falls down on the detonator for the explosives. The cliff explodes, and rocks fall down onto the camp below where Rita and Mocassin are waiting. | ||||
|
|
|||||
| Chapter 5: Gun Trap | |||||
 |
Rita and Mocassin barely escape as the rocks rain down on the camp. Zorro checks to see that Rita and Mocassin are safe and then rides off. Ken and Rita discuss what they should do now since the explosion has made their previous plan impossible. Ken says that they can string the telegraph across the mountain peaks instead, which should still save time. Rita approves of the plan. | ||||
| Crane is irritated that Hodge is a prisoner. Hodge might talk and implicate Crane in the plot. Crane tells Kilgore that they must get Hodge out of custody, dead or alive. Meanwhile, Ken has had no luck getting Hodge to talk. Mocassin suggests that Zorro try because a lot of the people are convinced that Zorro is a ghost so Hodge might be scared into talking. | |||||
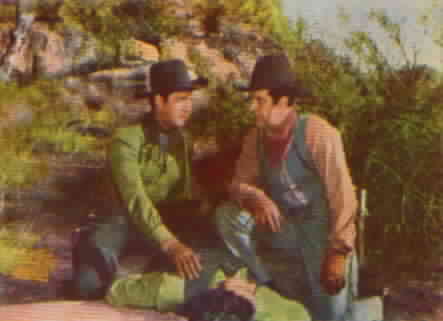
| Zorro visits Hodge that night. Hodge seems frightened, but not willing to talk. Hodge mentions that he was following Kilgore's orders and that they would meet at Oregon Cave, but that he doesn't know who Kilgore's boss is. Zorro hears a signal from Mocassin and must leave. Mocassin tells Zorro that some men are approaching. Zorro and Mocassin have a shoot-out with the men. The men flee; Zorro follows them, and Mocassin watches Hodge.
Kilgore knocks Mocassin out and rescues Hodge. Hodge tells Kilgore that he mentioned Oregon Cave. Kilgore decides that he and Hodge will go to the cave to prepare a trap for Zorro. Zorro comes back and is told by Mocassin that Hodge escaped with Kilgore. Zorro rides to the cave to apprehend them. The men are awaiting Zorro, and once he enters the cave, they open fire. |
|
||||
|
|
|||||
| Chapter 6: Deadline at Midnight | |||||
| Zorro ducks behind some rocks and avoids being shot. Mocassin enters the cave and helps Zorro fend off the other men. Hodge is shot, and Kilgore flees. Mocassin looks through Hodge's pockets and finds a note signed by George Crane. Zorro says that Ken Mason will have to find out if George Crane is the man in charge. | |||||
|
George Crane claims that he doesn't know how Hodge became involved with Kilgore. Ken thanks him and leaves. Kilgore enters the room and remarks that it is rather strange that Ken Mason had a note found on Hodge. He thinks Ken and Zorro must be working together. Crane plans to get Sam Green from the land office to help them. Kilgore thinks that Green will be too difficult to work with, but Crane gives Kilgore a wanted poster for the arrest of Paul Hobson, who happens to be Sam Green.
Sam Green arrives at the telegraph's camp and orders them to cease operation. Green shows Ken and Rita the order which is signed by Jim Cleaver and demands $10,000 in damages. The telegraph has until midnight to get off of the land. Ken decides that Zorro will pay Jim Cleaver a visit. Zorro walks in on Cleaver and Kilgore discussing the end of the telegraph. Zorro and the two men fight. Kilgore escapes, and Zorro shoots Jim Cleaver. Zorro looks around and finds the wanted poster for Tom Hobson. Zorro rushes back to the camp as Green asks Rita to sign the papers relinquishing all rights to the Pioneer Telegraph company. As Rita prepares to sign, Zorro enters with the wanted poster. Green denies that he is Hobson; he and Zorro fight, knocking over a container of acid. The tent goes up in flames and explodes. |
||||
|
|
|||||
| Chapter 7: Tower of Disaster | |||||
| Zorro carries Rita away from the tent just as it explodes. Zorro ties Green up. Ken visits Crane the next day. Crane claims to know nothing about Green. Ken tells Crane that they will find out who is backing Kilgore when Ken turns Green over to the U.S. Marshal. As Ken finishes speaking, Crane sends a smoke signal to Yellow Hawk, telling him to deal with Ken Mason.
Unknown to Crane, Kilgore places a time-delay bomb in Ken's wagon. Crane is furious, because he had other uses for the bomb and had already planned how to get rid of Ken. Kilgore rides afer Ken to try to prevent the bomb from exploding. Kilgore jumps on the wagon and tosses Ken off of the wagon. The wagon explodes with Green still on it. Kilgore's men wonder what happened to the wagon as Kilgore rides up to them. Kilgore tells them not to worry about it, that they need to destroy Pioneer Telegraph's power supply at the relay point. Ken overhears and prepares to ride as Zorro. Kilgore and another man arrive at the relay station and prepare to destroy it. Rita is knocked unconscious by Kilgore's accomplice, who proceeds to cross the wires in the relay station. Zorro arrives at the relay station and fights the man. During the fight, power switch is hit, causing it to begin shorting out. |
|
||||
|
|
|||||
| Chapter 8: Mob Justice | |||||
| Zorro leaves and tells Rita to explain what just happened. Meanwhile, George Crane tells Kilgore that Rita is having the U.S. Marshal come to town. Crane is worried about what will happen when the marshal discovers that someone is trying to stop Pioneer Telegraph. Crane has prepared a wanted poster for Zorro, which accuses Zorro of everything that Crane and Kilgore have done. Crane is hoping that the marshal will help them capture Zorro and then leave with Zorro in custody allowing George Crane to finish off the telegraph. Kilgore impersonates Zorro, stealing and causing mass destruction. The marshal arrives and plans to organize a manhunt for Zorro. | |||||
|
Zorro visits the marshal and removes his mask. The marshal is shocked that Ken Mason is Zorro. Ken tells the marshal everything he knows, and the marshal seems to believe him. The marshal sees Kilgore approaching and warns Zorro. Zorro puts his mask back on and pulls his gun on Kilgore. The marshal begins to escort Kilgore to the meeting to explain himself. Kilgore grabs a gun and shoots the marshal. Kilgore runs to the men at the meeting and tells them that Zorro just shot the marshal. The men ride off in pursuit of Zorro. Ken reaches Mocassin and changes out of his disguise quickly, pretending to be asleep. Kilgore and the men reach Ken's camp and accuse him of being Zorro. Ken is escorted back to town and a firing squad is prepared. Rita tries to convince the men that Ken can't be Zorro, but they won't listen. The men prepare to shoot. | ||||
|
|
|||||
| Chapter 9: Money Lure | |||||
| Ken ducks just as the men shoot at him. Suddenly, Mocassin rides through the town, dressed as Zorro. The men realize that Ken can't be Zorro. Ken suggests that they keep an eye on Hank Kilgore and maybe they'll find out who really shot the marshal. | 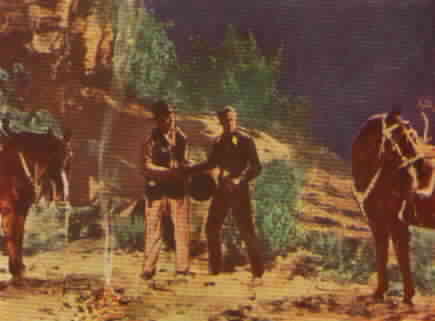 |
||||
| Crane and Kilgore arrange to have Rita abducted. They forge a note from Ken, requesting her to meet Ken at a certain place. Rita shows Mocassin the note and leaves to meet Ken. Mocassin looks at the note and becomes suspicious. He gets out a sample of Ken's handwriting and sees that the note is a forgery. Mocassin rides after Rita to save her. | |||||
| Kilgore and his men abduct Rita and take her to their cave. They try to force her to reveal where the telegraph company's money is stored. Mocassin enters the cave and is captured. Yellow Hawk begins to torture Mocassin in order to get Rita to reveal where the money is hidden. Finally, Rita breaks down and reveals the location. | 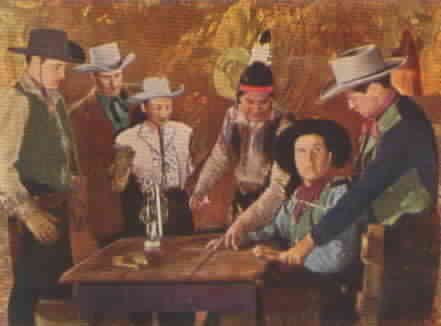 |
||||
| Kilgore leaves to see if she is telling the truth. Ken finds a message that Mocassin left and rides out to save Rita. Meanwhile, Rita begins untying Mocassin while their guards are not looking. Mocassin attacks the guards, and they fight. Rita sees another man coming and joins the fight. She is knocked unconscious. Zorro arrives and saves Mocassin and Rita. Mocassin tells Zorro that Kilgore is going after the money. Zorro attacks Kilgore right after he finds the money. The men fight and Kilgore's gun is fired, fraying the rope holding up a load of logs. The logs fall while Zorro is underneath. | |||||
|
|
|||||
| Chapter 10: Message of Death | |||||
|
|||||
| Kilgore reads a newspaper article detailing how next week, Pioneer Telegraph will beam an experimental message through a temporary hookup. Crane and Kilgore plot how they can mess it up. Crane has Kilgore substitute another box for the box containing the booster unit that the telegraph is supposed to use to send the first message. The booster unit Crane is supplying will explode when the message is sent.
Once the appointed date arrives, Ken hooks up the booster unit. Ken and Rita await the receipt of their first message. The message begins to come through and then the unit explodes. |
|||||
|
|
|||||
| Chapter 11: Runaway Stagecoach
Ken sees the unit begin to smoke and pulls Rita away from it. Ken thinks the unit was deliberately tampered with. Rita and Ken approach George Crane about their problem; they want a two week extension of the time they need to complete the telegraph. Crane agrees to sign the paper that Rita intends to submit. Crane tells Kilgore to stop that paper from being sent off. As Ken prepares to leave, he is accosted by two men who demand the survey. Ken attacks them, and the men get away. Meanwhile, Rita is stopped by Kilgore and his men. They demand the paper that was signed by George Crane. Rita stalls, and Ken arrives. Ken shoots at the men, and they shoot back. One of the men rides off with Rita on the coach, and Ken chases the coach. The bandit throws several kegs of explosives off of the coach at Ken. Ken finally manages to shoot the bandit so that now the coach does not have a driver. Ken grabs the horses and brings them under control, but the stagecoach breaks loose. Ken rushes to overtake the runaway stagecoach as it hits a cliff and blows up. |
|||||
|
|
|||||
| Chapter 12: Trail of Blood
Ken catches up to the stagecoach and grabs Rita off of it just before it hits the cliff. Later, Rita frets that there simply isn't enough time to finish the telegraph line. Mocassin rushes in with a map he found in Zorro's cave of an old mine that runs under the mountains. Ken realizes that they can string the telegraph line through the tunnel. They need to get George Crane to make some metal hangers on which to string the line. Rita goes to see George Crane. He hesitates and says that he is not sure if he has the materials to make the hangers. Rita pleads with him to try. Crane goes to the back room and speaks to Kilgore. They decide to abduct Rita and use her life as a bargaining tool to get the telegraph to cease construction. Crane and Kilgore walk out to see Rita. When Rita sees Kilgore, she realizes that Crane and Kilgore are in cahoots and tries to flee. Crane grabs Rita and has Kilgore take her to the back room. |
|||||
| Ken and Mocassin receive a note saying that they must stop working or else Rita will be killed. Kilgore and his men have Ken and Mocassin surrounded. Ken and Mocassin manage to fight their way through the pass. Zorro heads to Crane's to find out about Rita while Mocassin pursues Kilgore.
Zorro asks Crane about Rita, and Crane claims he hasn't seen her. Zorro sees some bloody clothes and knows that Kilgore must be present. Zorro leaves, and Crane calls Kilgore out of the back room, asking him to bring Rita because they must move her. Zorro comes back in with his gun drawn. Zorro fights Kilgore and Crane. Kilgore is shot, and Crane is subdued. Zorro orders Crane to begin working on the hangers. Kilgore rises and tries to shoot Zorro. Mocassin enters and shoots Kilgore. Zorro removes his mask and makes Crane start working. The telegraph will be completed on time. |
|
||||
|
|
|||||
| Comments:
This is the second version of Zorro to feature George J. Lewis. Lewis goes on to star as Don Alejandro in a third version of Zorro in Walt Disney's Zorro. |
|||||
|
|
|||||
| Zorro is a registered trademark of Zorro Productions, Inc. This site is an unofficial site and is neither affiliated with nor endorsed by Zorro Productions, Inc. Any copyrighted material appearing on this site complies with fair or acceptable use principles established in U.S. and International copyright law for the purpose of review, study, criticism, or news reporting. Page design and original content are copyright © 2003 by Jennifer White. | |||||